Tuesday, October 12, 2010

ventrilo-ett figure

As you can see by his face, Eddie is very happy to have his very own ventrilo-ett figure!"


This is a fun little figure you can take anywhere! You can purchase them at mahertalk@aol.com

Tuesday, September 14, 2010

Some of my works!!!

Here are just a few of the figures I have made over the years. I have so many pictures of figures I have made, that choosing which ones to put on can be difficult and time consuming!!


The photo to the left is a promo picture I used when performing at an opry house!


This was one of my smaller 35 to 36" figures. He was a lot of fun to use and I also made him with a midget body for a more comical look!


These two classic boys are made from the same mold, but there are slight differences. Can you spot them?


Before and After!! This was a John Carroll figure that came into the shop for a face lift!


Saturday, August 21, 2010

Mr. Addison's Demo!

Here is a Demo of Mr. Addison in action. As you can see, not a very pleasant man!
Hope you enjoy!

Wednesday, August 18, 2010

A Big Thank You To……..

Well the Project is finished and now it is time to give credit where credit is due! I can honestly say that I could not have made this or any figure without the significant help of three very important people/ artist/ figure makers. These gentleman were always gracious enough to answer any question and help in any way they could!

It is hard to explain in detail what each person has done to help me improve my figure making. I’m sure I have left some of those details out and If I did, please know it is not intentional. I hold the Highest respect for all the men listed below !


The first Gentleman I want to say, “Thank you” to is Conrad Hartz. Conrad was the first person to ever help me with figure making. Even though I don’t carve my figures from wood, Conrad has helped me with important information on Sculpting, Painting and installing the Mechanics of a figure. I have known Conrad for over 10 years and I still am learning so much from him. He is a wealth of information on figure making and continues to help me to this day! I keep telling him he should right a book or make a DVD on figure making! I’m sure they would be best sellers!

The second Gentleman to want to say, “Thank You” to is Bill Nelson. Bill has helped me understand the importance of Character development when sculpting a figure and creating your own style of figures. A style that when seen by other vents, would let them know right away who made that figure. Being different! I was also lucky enough to learn some of Bill’s techniques to improve my painting. Bill does offer an on-line class on painting at http://thatcreativeplace.com/ ,so check it out! I guess the one most important thing I have learned from Bill is the attention to detail! He understands how the muscles of the face work which allows him to sculpt every facial detail from a crows foot, a forehead wrinkle to proper facial proportions. His figures are nothing short of masterpieces!

The third Gentleman I want to say, “Thank You” to in Mike Brose. Mike has helped me understand how to make figures using molds and casts. All the information shown on my blog on making my figure comes from Mike’s book, “Figure Making Can Be Fun”. This book you can order through Mikes Web site http://www.puppetsandprops.com/home.html . Mike also allows figure makers to buy the essentials needed to make and finish a figure such as bodies, hands and eye’s, etc . I have also know Mike for about 10 years and I can’t speak highly enough about him or his wife Cathy! Wonderful People!


“Other people who have helped me along the way”

My good friend Al Stevens has also been a tremendous help not only with figure making, but his great gift for comedy writing! I met Al a little over 10 years ago at a “Central Florida Ventriloquist Meeting” and we seemed to hit it off due to our passion for ventriloquism and figure making. Al, also has a great wealth on knowledge with figure making and there mechanics! Al has made some of his own original figures that are just wonderful. His Uncle Sweeter and Aunt Sally Pickles are just two wonderful characters in which Al performs regularly with.

Even though I have never met or talked with these next two gentleman, great thanks goes out to them for providing a great manuscript on figure making. The first is Ray Gyull. Ray’s book, “How To Make Your Own Ventriloquist Figure” was the first book I bought that sent me on my way to figure making! This book is still available at Ventriloquistcentral.com.

The second is gentleman is Joel Leder. Joel wrote a wonderful Five Volume book on figure making with photo illustrations. These books are not available at this time, but maybe Joel will reprint them one day. If he does reprint these books, you better get them and fast!!

I am sure I am leaving some people out (Unintentionally)and I truly apologize!

Once again to all of you, who at have helped me out at one time or another I just want to say…….

THANK YOU!!

Saturday, August 7, 2010

The Body!!

Here he is with his body. The body and hands are Urethane which you can purchase from Puppets and Props (owned and Operated by Mike Brose) You can find the link the side bar of my blog.

Here Mr. grumpy is sitting next to my Chuck Jackson figures. I wanted to show the quality of both figures!
Mr Grumpy will be available on e bay. Keep your eye out for him!

Tuesday, July 27, 2010

All Wigged Out!!

Well, I have just finished wigging the head. I was originally going to use a gray wig, But thought using a darker wig that the character could be more then just a grumpy old guy. With this darker wig, he could still be a grumpy guy, but also a mobster, a bouncer, a wrestler, a baseball umpire, even a really bad marriage counselor! As you can see more then just a grumpy old guy.


Someone's having a bad hair day!!

It is always amazing to me how a slight movement or movements can change the characters look and personality! Also how these movements make the figure look so life like!!


Ok, Time to give this boy a body!!! My main figure Eddie, was none to pleased when we had to use his body for the photos!

Monday, July 12, 2010

Mechanics done!

We have installed the moving mouth, raising eyebrows and moving eyes.
The controls work off the control post. Each lever moves each movement. When worked in combination with each other, the figure will appear to be very lifelike!


Due to my main desk top computer being down, the painting of he figure will come later when I can access those photos . Not to disappoint, I do have a few pictures of the completed painted head. The eyebrows may change in color depending on what color wig I can find for this guy!


The eyes really make him look lifelike!!


Saturday, July 3, 2010

Slow But Sure Wins The Race!

When installing the mechanics you don't see the progress happen as much as when you are sculpting something. This part takes time and patience. You want all things to line up so the mechanics move smoothly and without binding or making noise!


The eyebrows, eyes and mouth have been installed. I added the tongue to the mouth, however it will not be a stick out tongue. The eyes are covered with wax paper so that paint will not touch the eye itself when I paint the head. When the paint dries, the wax paper is easily removed.


Here you can see the installation of the mechanics. This is as far as I can go until the control post in fastened in place.


.
The control post is made from 1 1/4 inch dowel and has been notched to accept 1/8" brass hardware. the deep cut is for the side to side moving eyes and the shallower one is for the raising eyebrows


The circle drawn on the post will be drilled for the mouth string to travel down to the control lever.


Here is how the brass tubes will look when installed. Well, back to the workshop to try and finish the mechanics and get ready for a final sanding and then to begin painting!


Sunday, June 27, 2010

Getting Mechanical with the Mechanics!

The framing for the mouth, eyes and raising eyebrows mechanics have been started. Next I have to start on the control post. Time and patience are needed so that everything will line up correctly which will allow the movements to move silky smooth! So far so good!!


I think the stick out tongue will not be installed on this figure, but maybe on a future figure! We'll have to see how things go!

Sunday, June 20, 2010

Installing the Mechanics!!

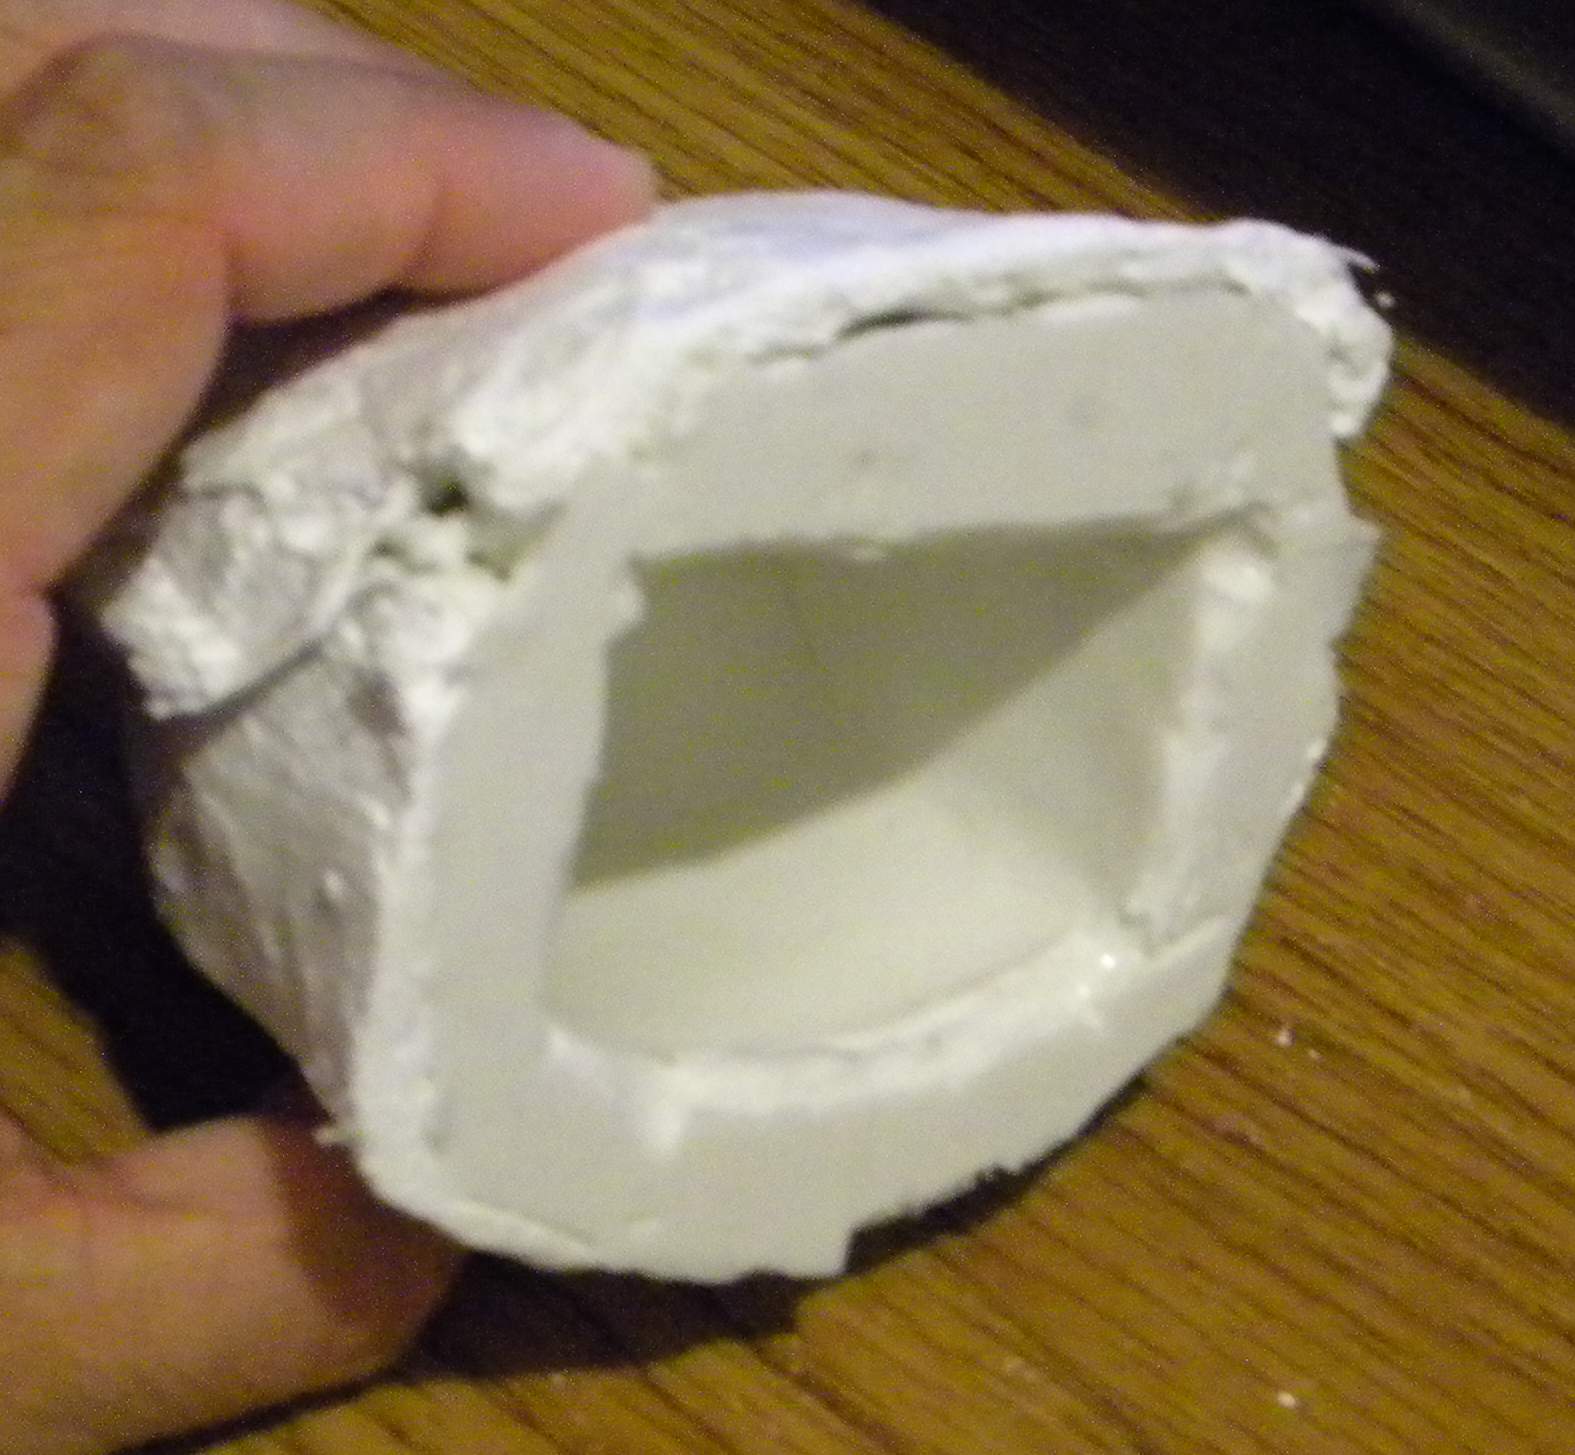
Before I install a control post I like to install the eyes and mouth first. When these are finished I attach the front and rear of the head. By installing the mouth and eyes with just a half head (front half) this allows me more working space. When the two halves are together, installing eyebrows is no problem as I will have plenty of room through the trap door.
The Eyes rest on a platform. A piece of brass rod is bent and then travels through the center of the eyes and then secured in the platform.


The eyes add a look of life to the character. When the eyebrows and paint are finished, he will look very realistic.


Still debating the stick out tongue!!

Thursday, June 17, 2010

Meet the Cast!!!


The back of the head, mouth and tongue have just been cast. They are fresh out of the mold and a light sanding will be needed for thing to line up properly!


I can already hear him complaining!!!

Tuesday, June 8, 2010

An EZ Mouth Mother Mold


The mouth mother mold is also made with the plaster of Paris wrap. I make a two piece mold for this.


As you can see to silicone mold fits into the larger portion of the mother mold and then the small fits on top. A rubber band will hold the mother mold together and then I can slush cast the mouth.


One thing I did on this mouth mold was to leave the brass pivot tube in the mouth when I first molded the mouth. I did this so I could cast the pivot tube in the mouth at the same time I cast the mouth. This is a time saver!!